How to Open an Account with PureVPN and Install it on Windows
We recommend reading our readers reviews on PureVPN before you make up your mind. If you've decided that PureVPN is the service for you, this article will show you how to set up your account and install their app on windows.
So without further due, here's how to get started with PureVPN.
Step 1- Open your PureVPN account
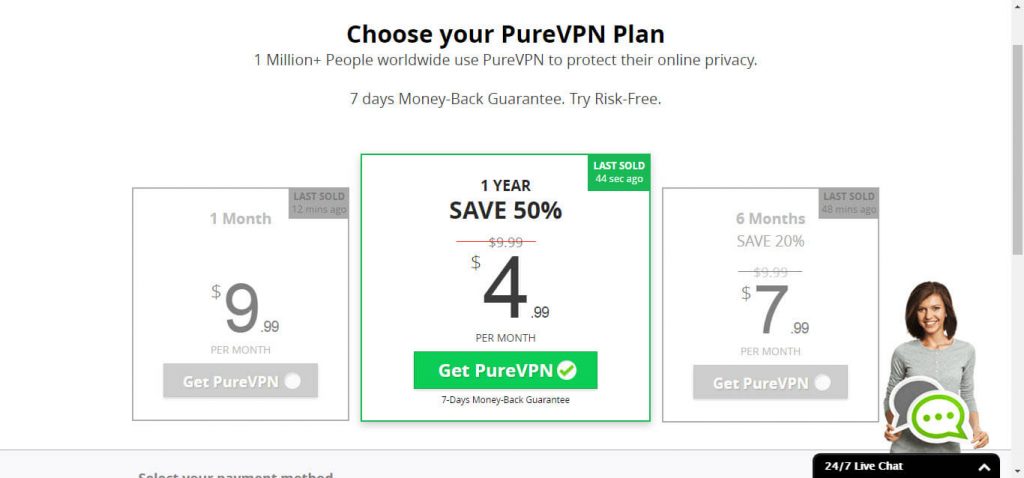
To open your account, go to PureVPN's website and click on Get PureVPN. This will take you to the plans page where you'll get to choose between 3 identical plans, for changing periods of time. For best savings, choose the 1 year subscription, which entitles you for a 50% discount.

Continue to checkout until finally you will be redirected to a downloads page.
Step 2- Download PureVPN
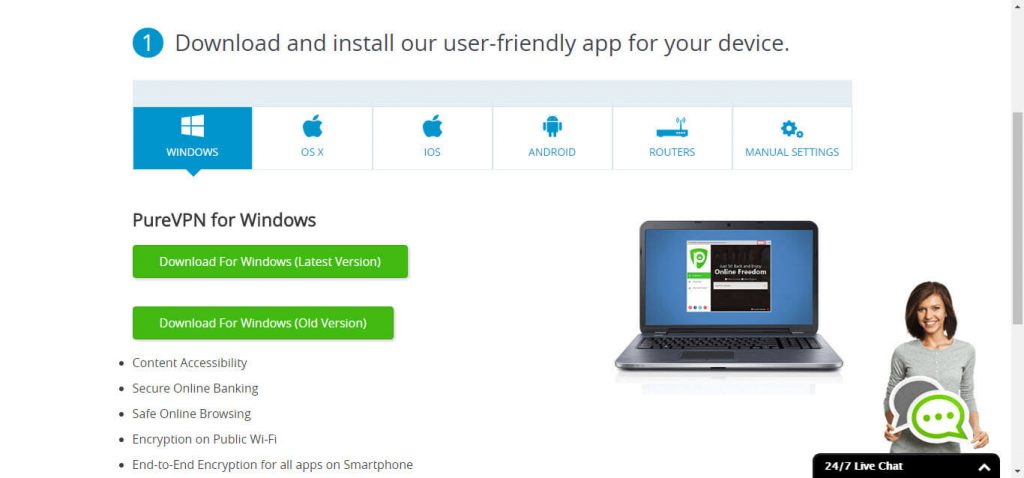
From the download page, click on one of the 2 green buttons: the "latest Version" download refers to your version of Windows and NOT to the version of PureVPN.

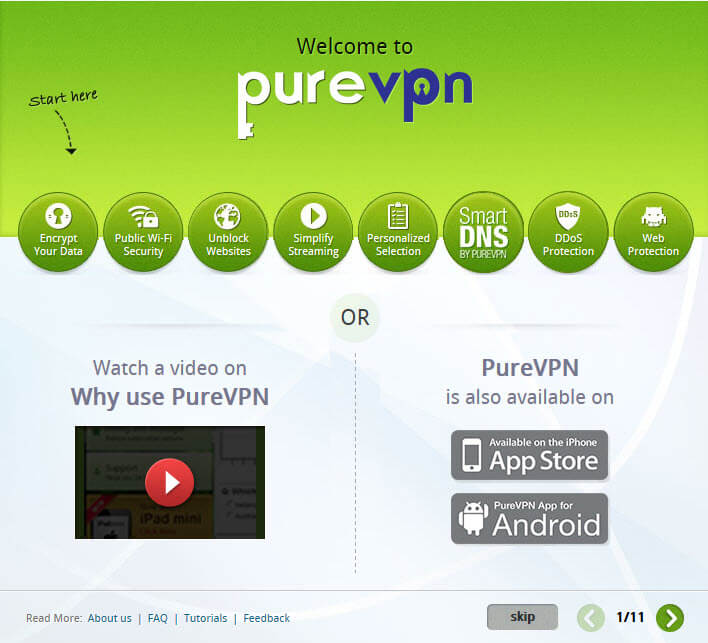
Once download is complete, open the exe file and follow the installation process. Note that in order to complete the process, you will need to close all your other application. When you reach the final stage, the software will launch, showing a tutorial of all their tools and features. Taking the time to watch the videos and instructions is recommended, as it will help you make the best out of the application.

Step 3- Configuring the PureVPN Application
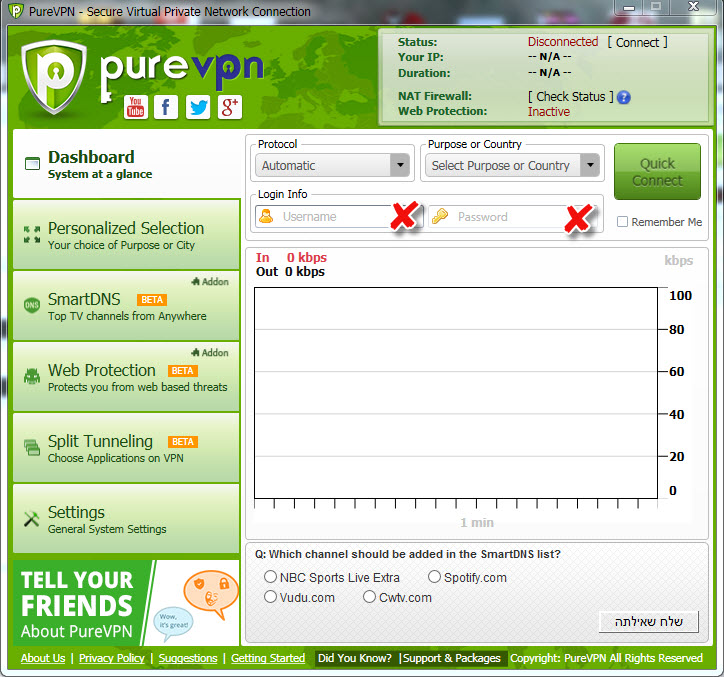
After going over all the tutorials, you should find the dashboard fairly easy to use. For the initial connection, enter the username and password which have been sent to your email upon subscription. For you convenience, here's what that email looks like:

Next, choose your protocol and purpose or country and click Quick Connect.

Once connection has been established, you will see a moving graph, showing the amount of kilobytes going through your server.

In addition, if you look into your WIFI, you will see that you're connected to a PureVPN network.

Advanced Settings
The menu on the left offers some unique features which are worth looking into.
Personalised selection will enable you to choose a specific server location, or connect to the fastest server available.

The SmartDNS section is purposefully designed to allow you to enjoy your beloved TV channels regardless of your location. However, it's important to note that this feature is accessible only if you have purchased the PureVPN Smart DNS addon. Similarly, the Web protection feature also necessitates the purchase of the NAT Firewall addon in order to activate it.
The Split Tunneling section allows you to choose which applications on your desktop should be using the VPN and which ones can be excluded. To use this feature, you will first need to disconnect your vpn, and then go back and click the button that says Disabled. When the button turns red, go ahead and click press to search applications. You'll have to wait a little while before the list of web applications will finally appear, with option to either launch, edit or delete them. You can also add an application to this list by clicking Add an Application at the bottom right corner.

However, before you can do anything, you will need to go back to the dashboard again and turn your connection back on.
Finally, the Settings section lets you choose some basic preferences such as enabling the virtual router hotspot and traffic chart options.
Do you use PureVPN?
Help others make a wise choice and tell them what you think of PureVPN!
Your data is exposed to the websites you visit!
Your IP Address:
Your Location:
Your Internet Provider:
The information above can be used to track you, target you for ads, and monitor what you do online.
VPNs can help you hide this information from websites so that you are protected at all times. We recommend ExpressVPN — the #1 VPN out of over 350 providers we've tested. It has military-grade encryption and privacy features that will ensure your digital security, plus — it's currently offering 49% off.
